 ( 001 ) 8-Jan-2015
The theme for this guitar will take its inspiration from this graphic supplied by the customer. The Sailboat Guitar? Lots of ideas.
OM..................... 15" Lower Bout
Body..................... Walnut
Top....................... Sitka Spruce
Bracing................. Engineered asymmetrical modified X-bracing system
Neck..................... 25.4" Scale Maple,
User Adjustable Tilt Action Neck … Variable String to Fretboard Spacing
Dual action truss rod
Fretboard.............. Ebony
Bridge................... Ebony
Binding................. Blooodwood
Appointments....... Shell Inlay
Tuners.................. Gotoh 510 Silver
Nut & Saddle....... Bone
 ( 001 ) 8-Jan-2015
The theme for this guitar will take its inspiration from this graphic supplied by the customer. The Sailboat Guitar? Lots of ideas.
 ( 002 ) 8-Jan-2015
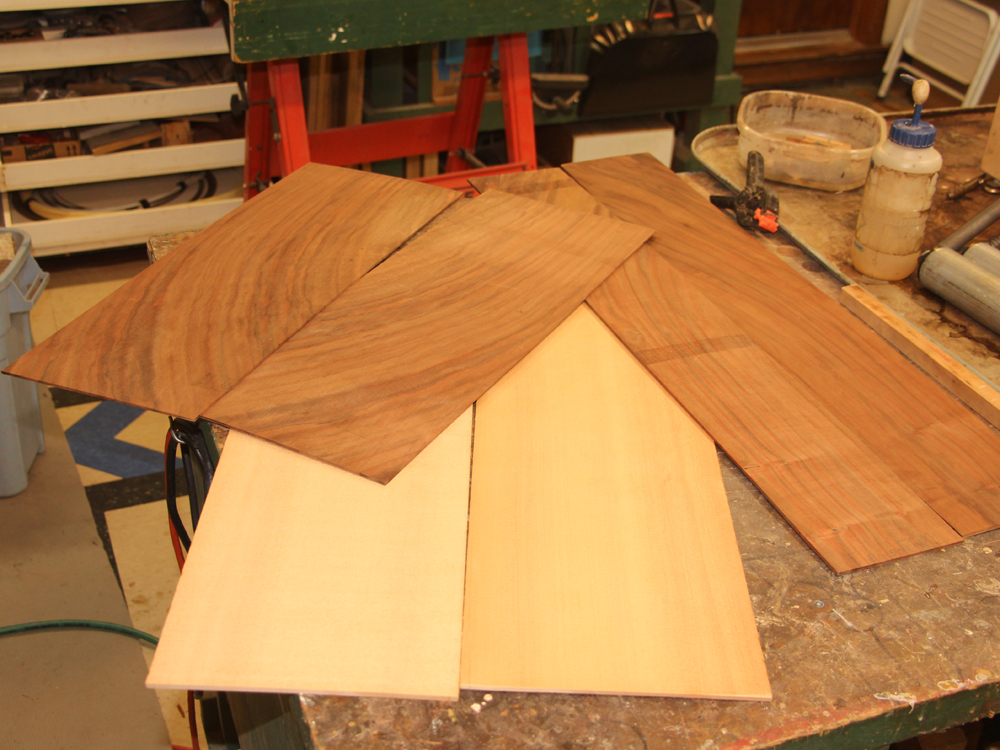
Here is the material for the back and sides (Walnut) and top (Sitka Spruce). In general, we are going to favor Pacific NW woods in any feature or component where one
is available and would be suitable for that role.
 ( 003 ) 8-Jan-2015
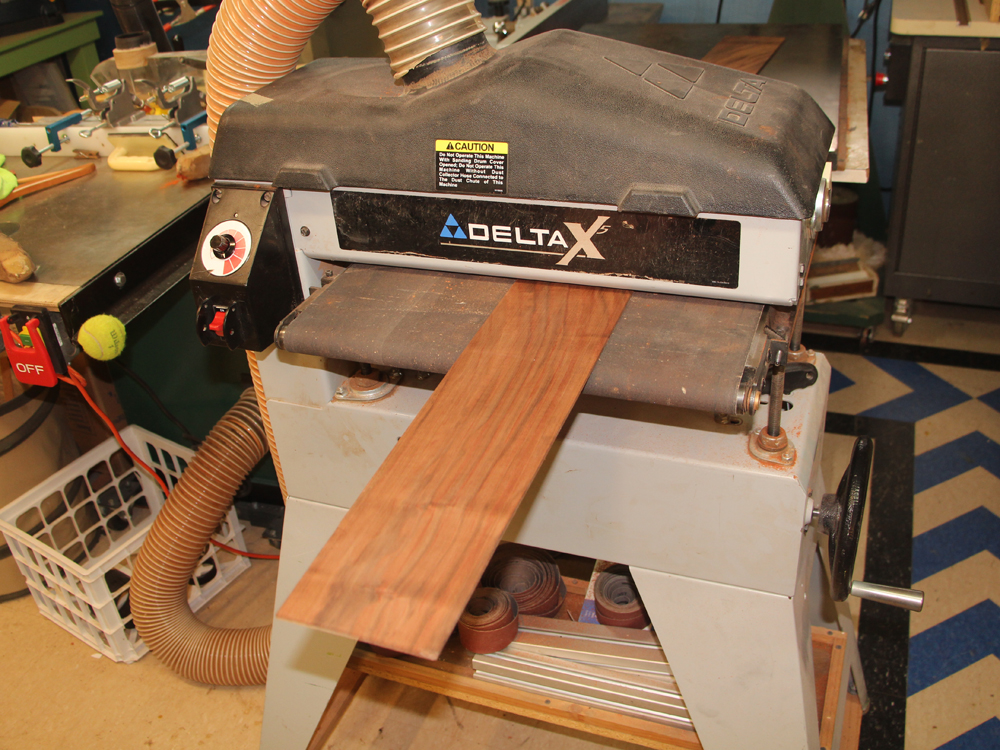
To start this build I first reduce the thickness of the side blanks with my drum sander.
 ( 004 ) 8-Jan-2015
I end up with about 100 mil thickness. 1mil = 1/1000 inch.
 ( 005 ) 8-Jan-2015
The Sitka Spruce top gets dimensioned to about 150 mil. This will be further reduced to about 100 mil as I work on it.
 ( 006 ) 8-Jan-2015
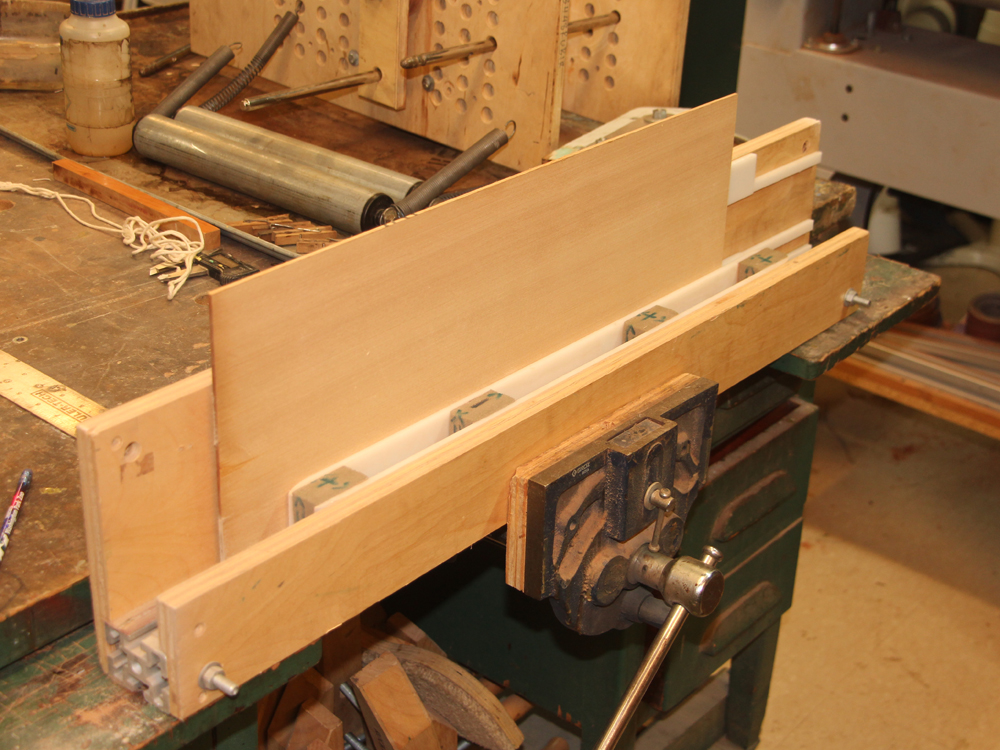
I am going to join together the two book matched halves of the top. To get a good joint the two joining edges need to be straight and square. Here I am using my edge squaring jig to prepare the blanks.
 ( 007 ) 8-Jan-2015
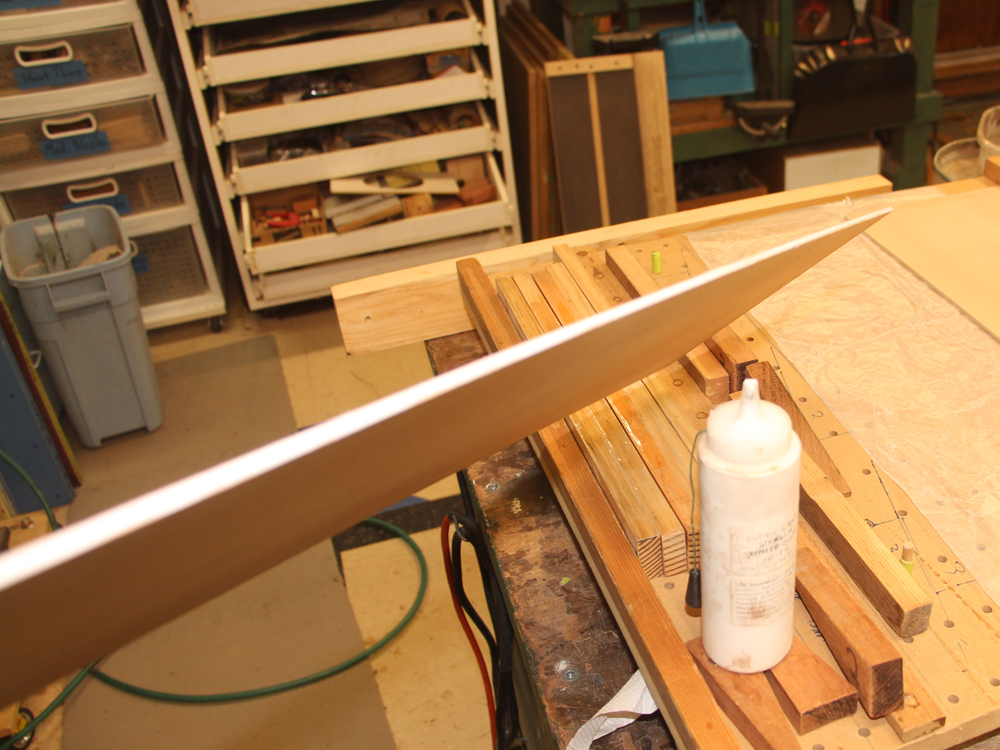
A thin bead of glue goes on the edge.
 ( 008 ) 8-Jan-2015
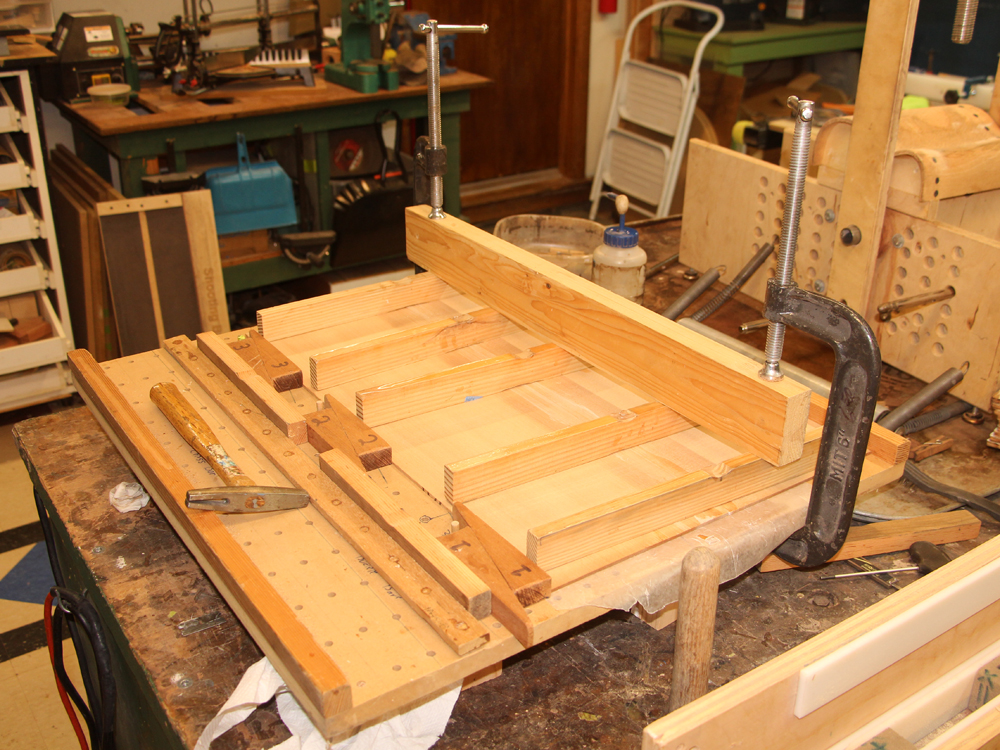
And then the two halves are joined in my joining jig. The wedges force the pieces together while the cross bars prevent the blanks from buckling.
 ( 009 ) 8-Jan-2015
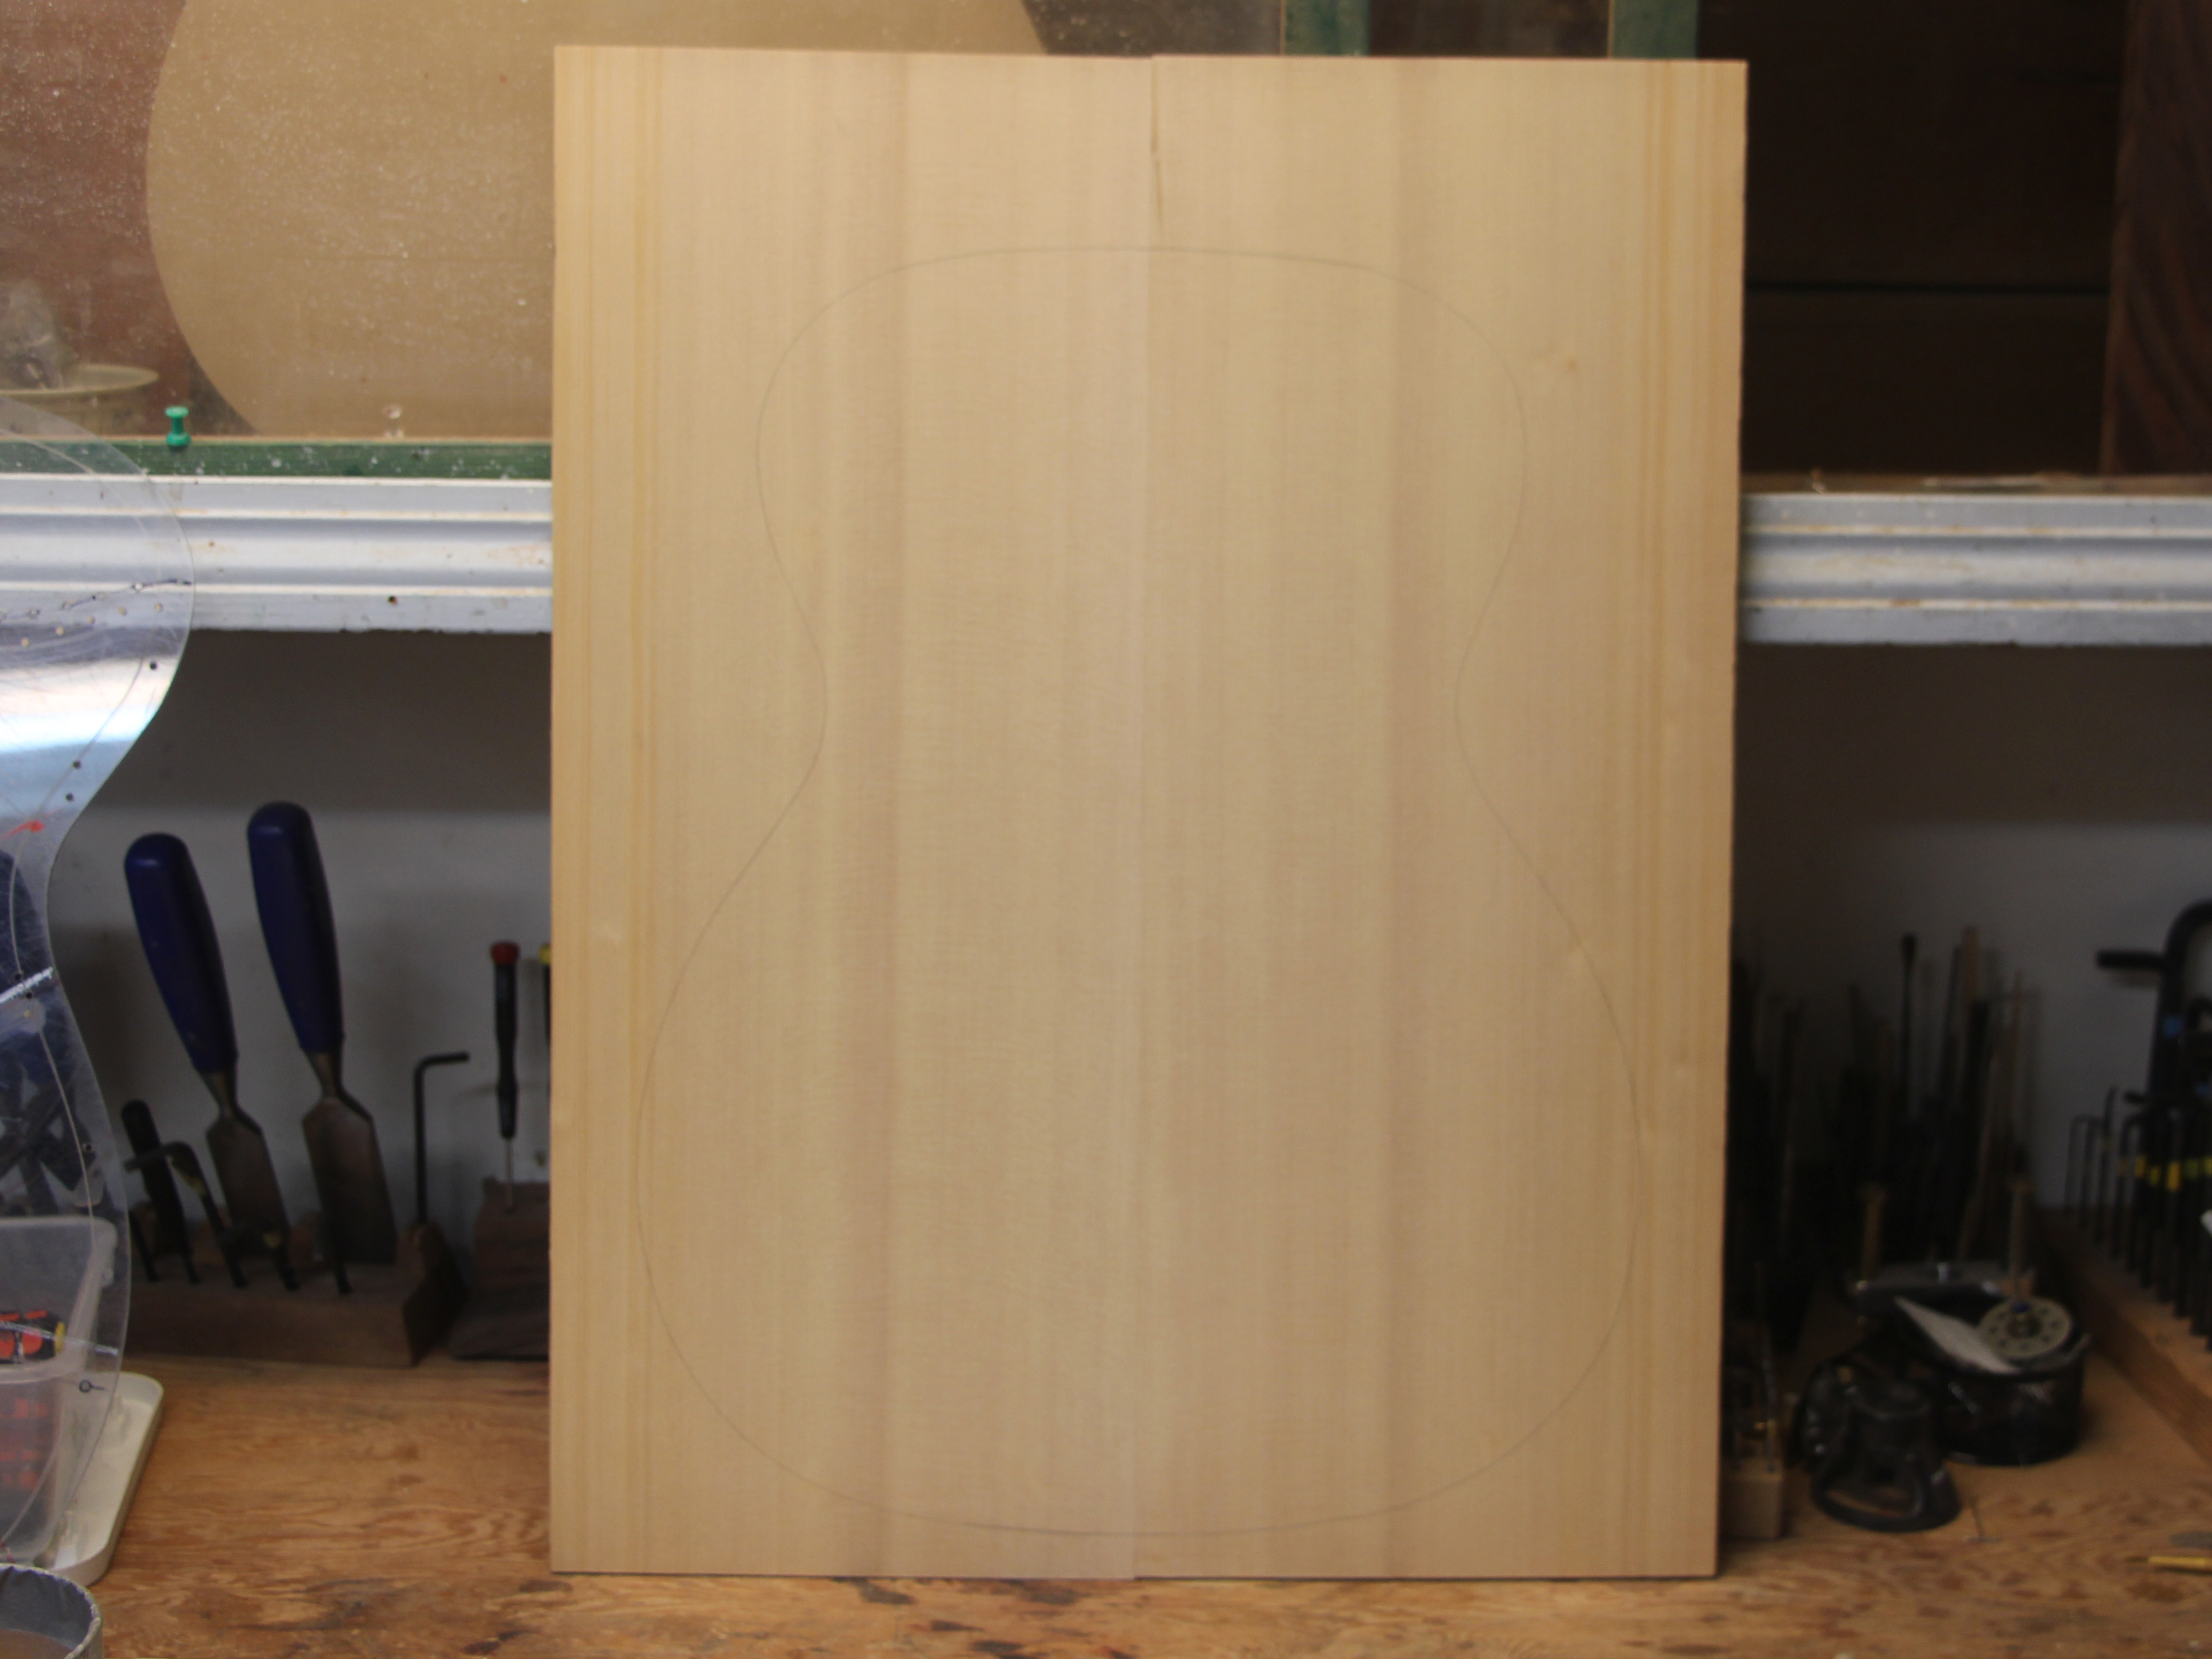
After the glue has set up.
 ( 010 ) 8-Jan-2015
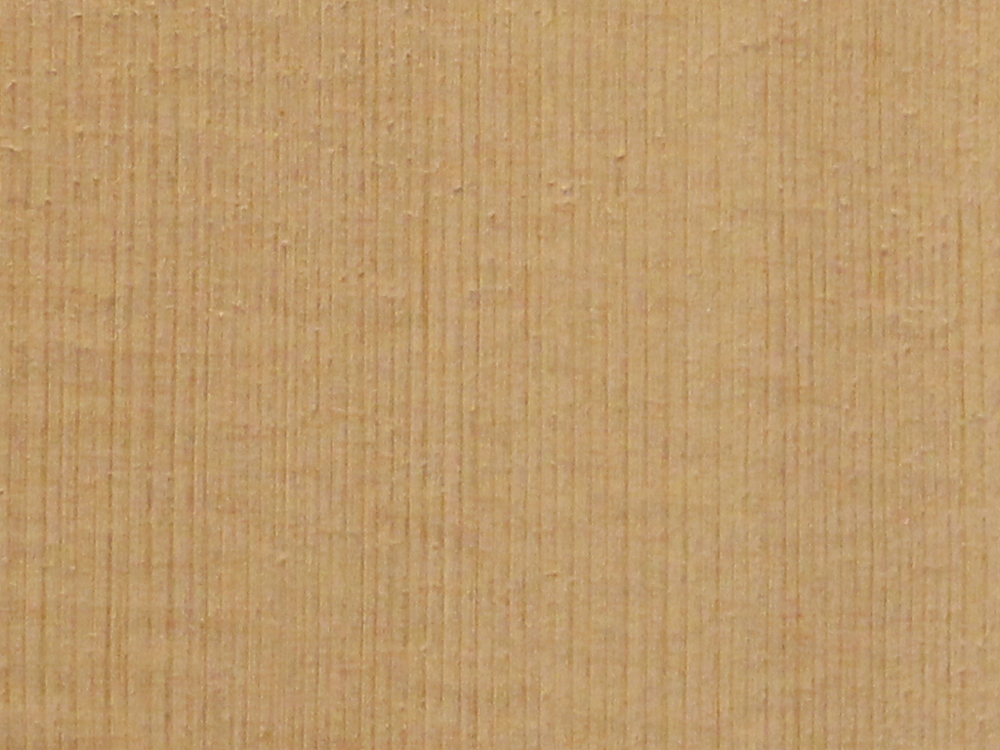
A closer look at the top.
 ( 011 ) 8-Jan-2015
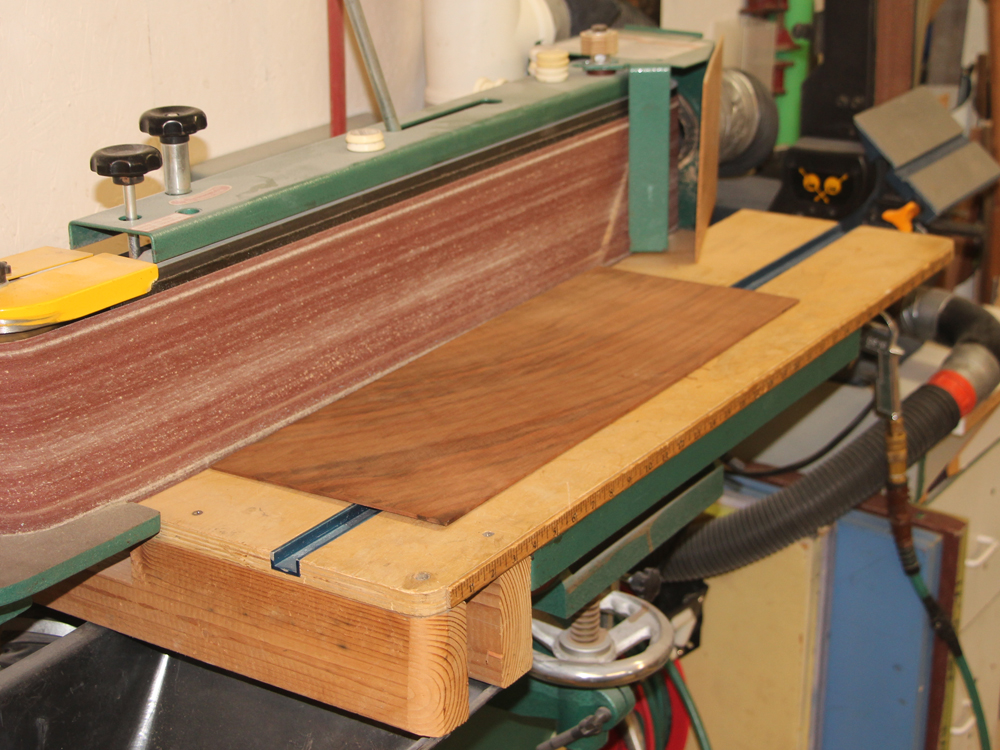
I use my belt sander to rough square the edges of the back set.
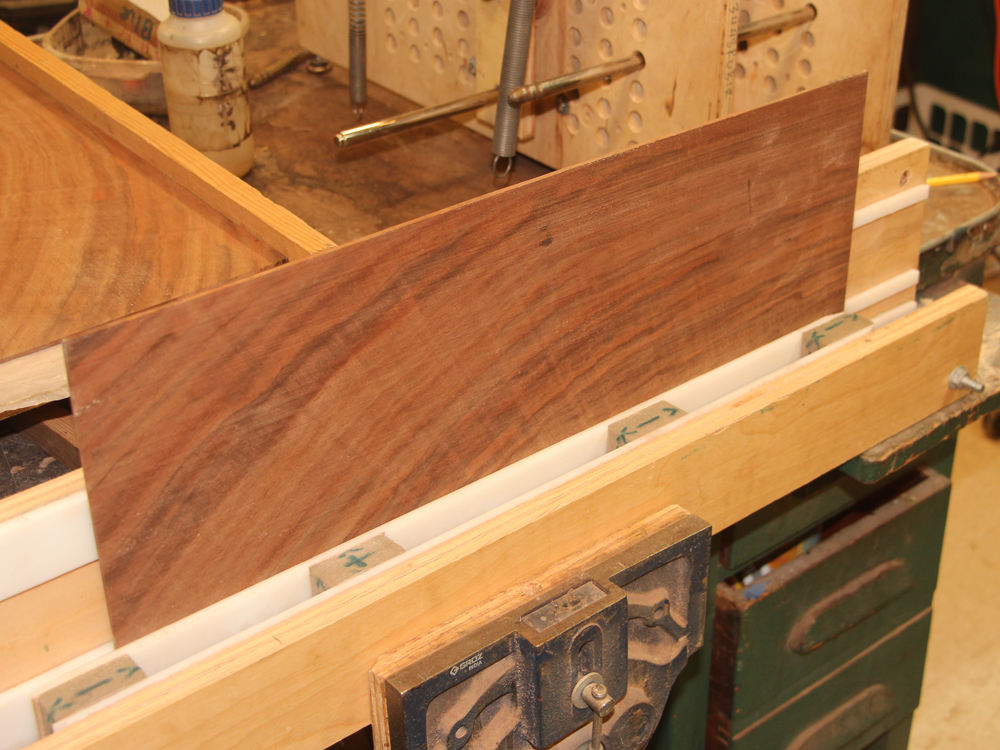 ( 012 ) 8-Jan-2015
And then the edges are squared in the jig..
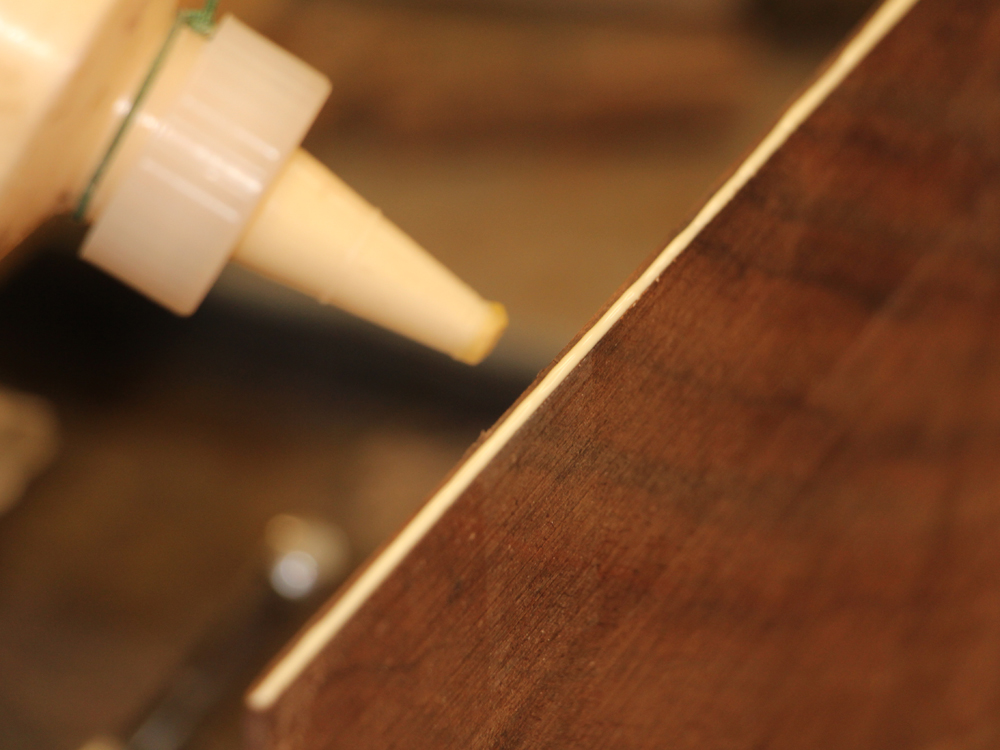 ( 013 ) 8-Jan-2015
A bit of glue.
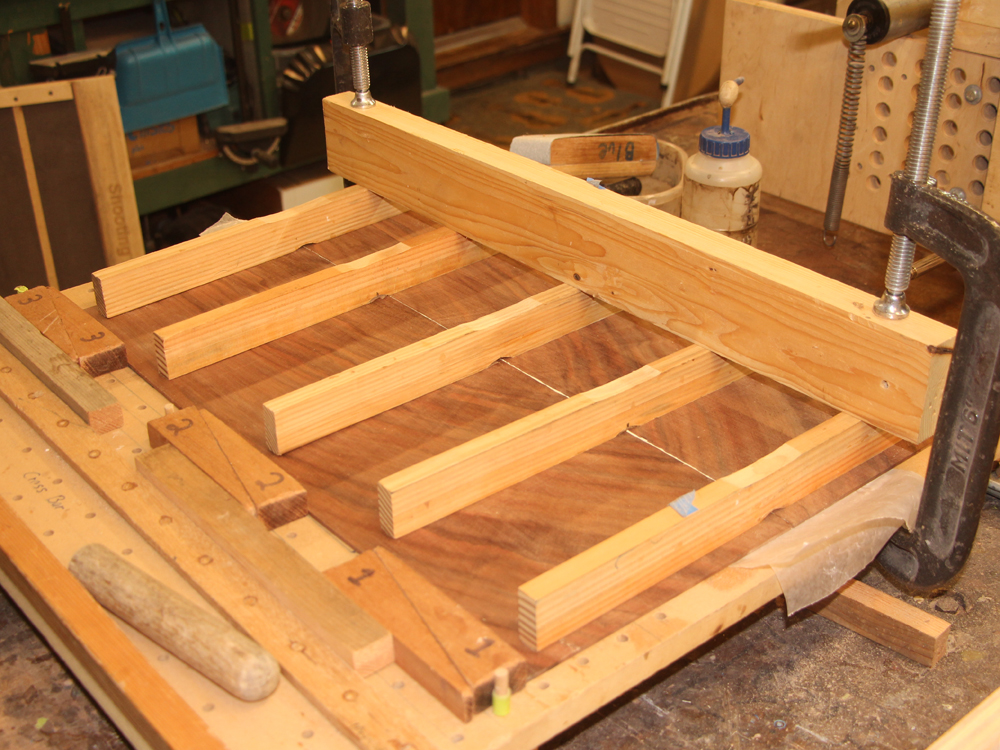 ( 014 ) 8-Jan-2015
And then the two halves are joined.
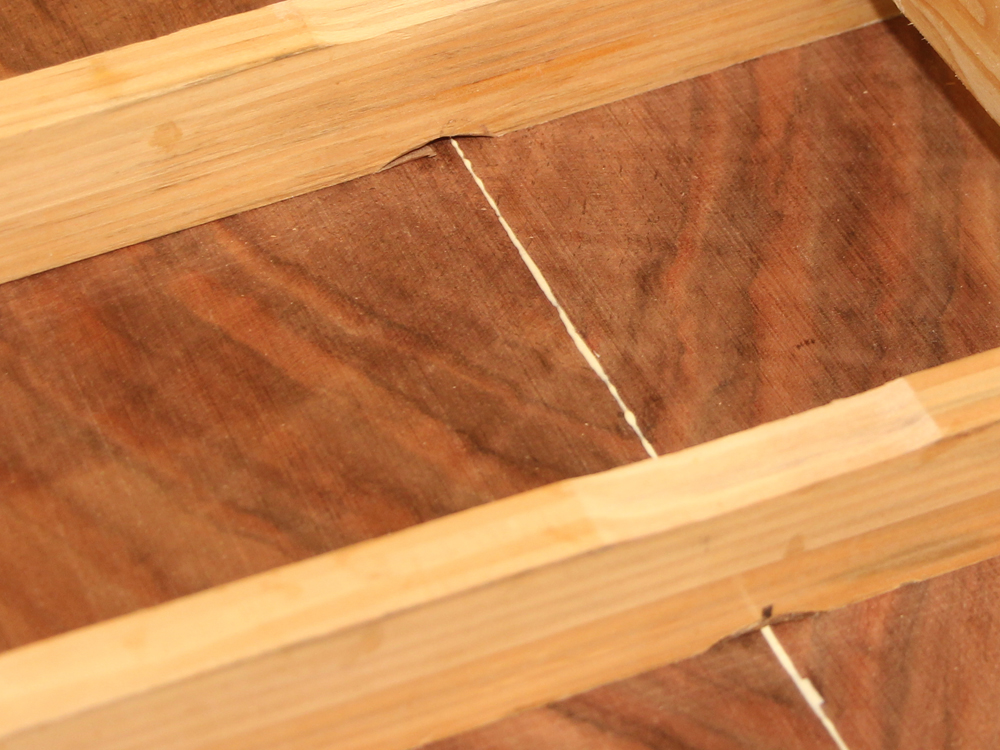 ( 015 ) 8-Jan-2015
A little bit of glue squeeze out is just right, not too much, not too little.
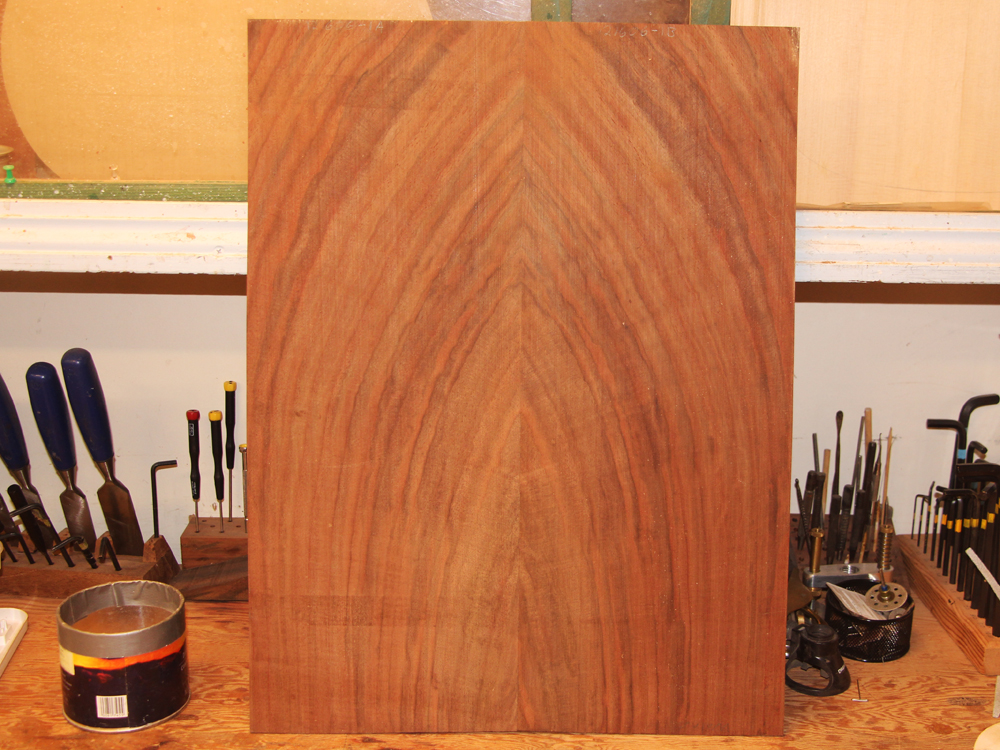 ( 016 ) 8-Jan-2015
And in the morning I pull the set out and take a look.
It looks a little like the bow of a boat... no?
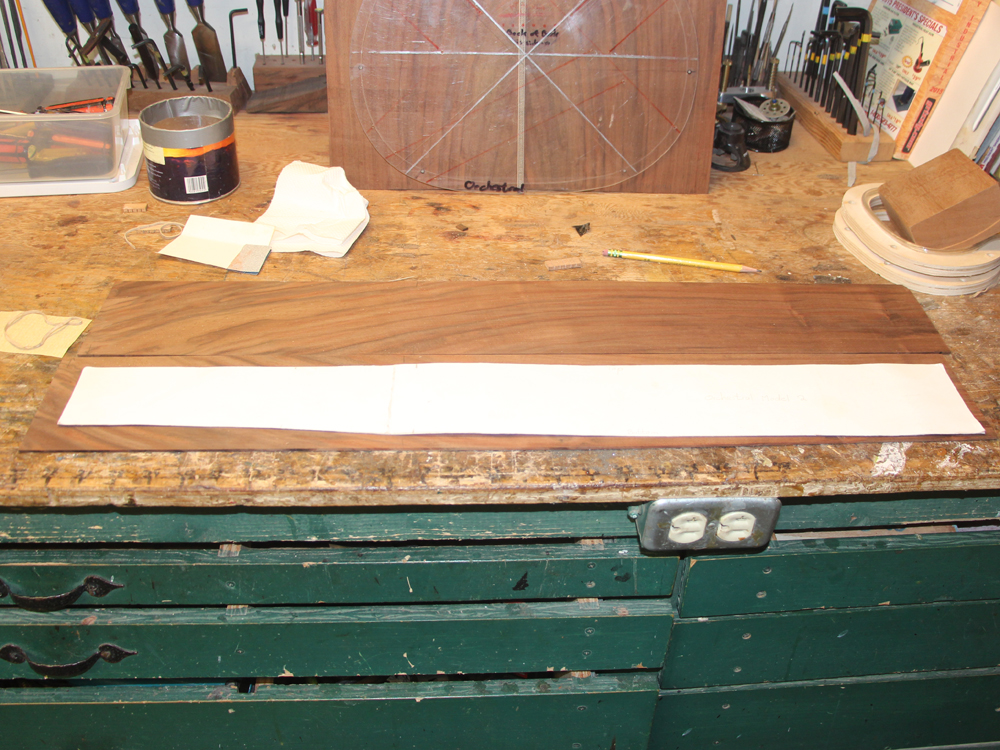 ( 017 ) 8-Jan-2015
Now on to bending the sides. Here I have laid out my side template on the side blanks.
 ( 018 ) 8-Jan-2015
To bend the sides I will heat them in a flexible heating assembly. Sandwiched in between the aluminum flashing is a heating blanket. I lay the side blank out...
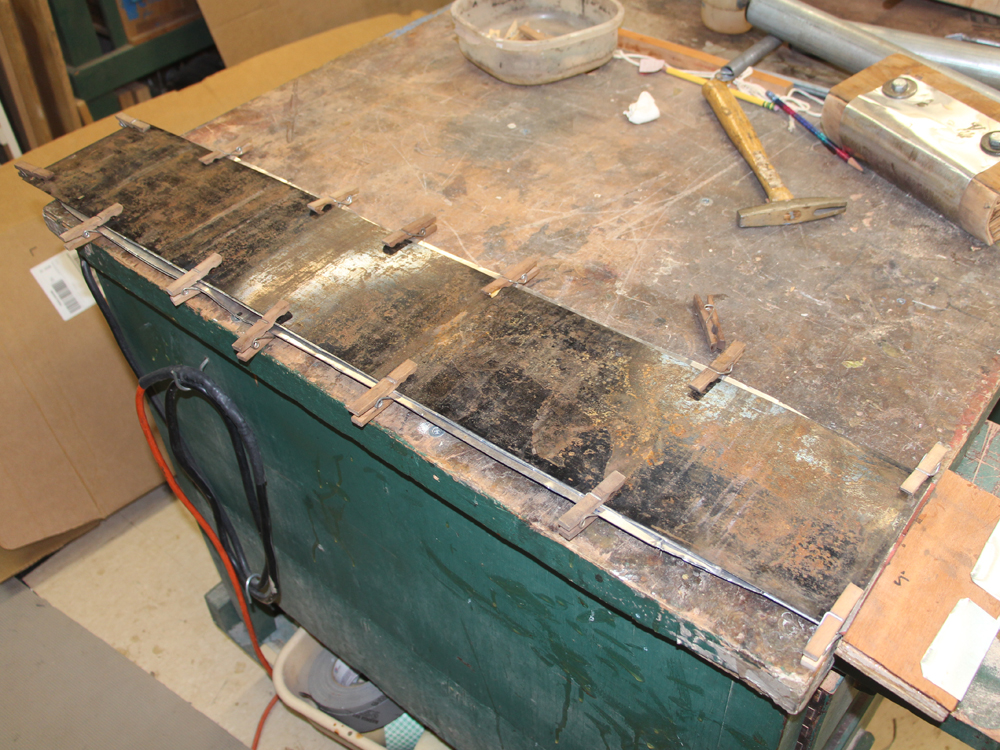 ( 019 ) 8-Jan-2015
and then lay out another piece of flashing and a thin sheet of spring steel, all held together with clothespins. The spring steel sheet helps prevents the wood from buckling as it is bent. It turns out that wood is a highly sophisticated composite material that becomes pliant as the lignins that bind the cells together get hot, like a thermoplastic.
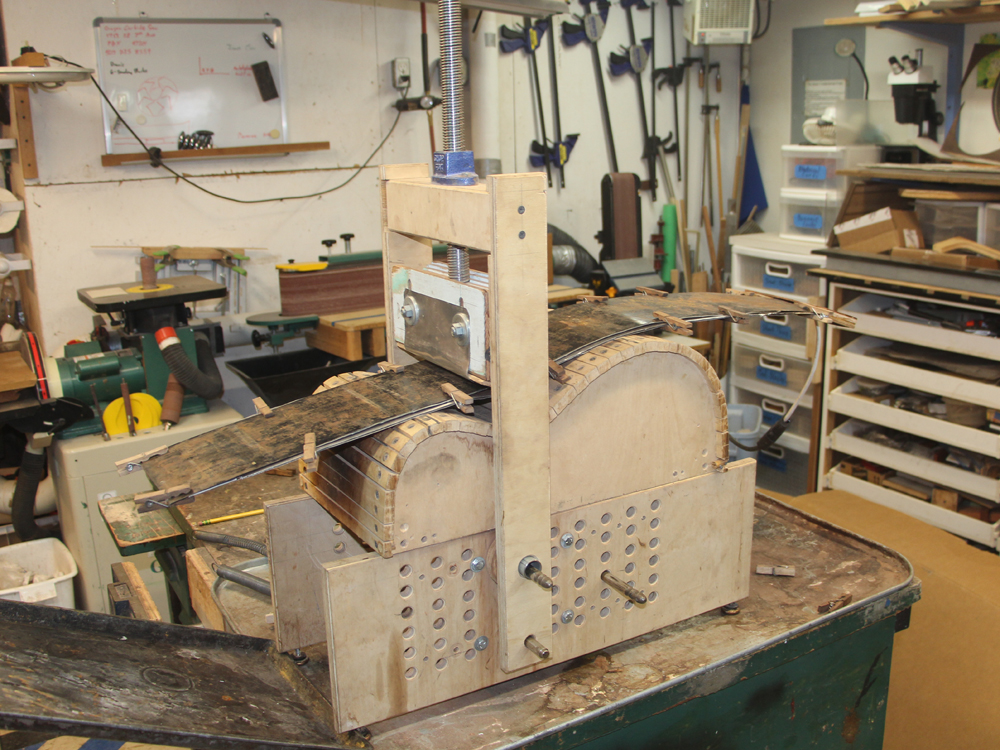 ( 020 ) 8-Jan-2015
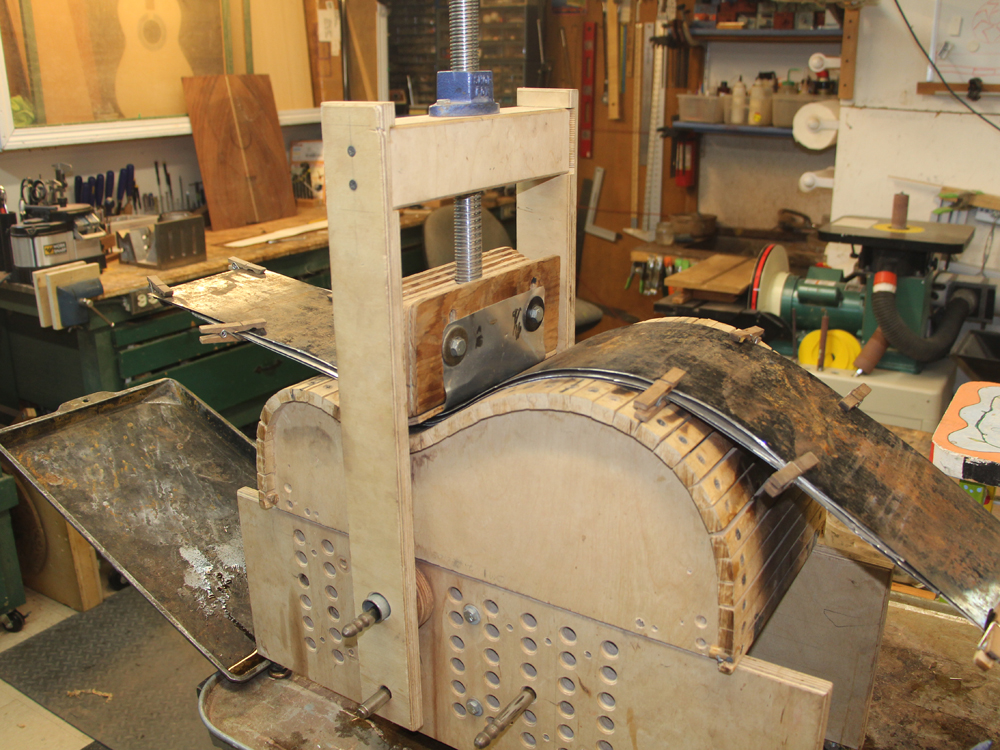
I position the assembly in the bending machine and then turn on the heating element. While the blanket is heating up I squirt water in between the edges of the flashing keeping the wood wet. If you ask this luthier he will tell you that the water performs three tasks: it boils at ~212 degrees F thereby preventing the wood from scorching as long as I keep it wet, it helps to conduct heat into the wood efficiently, and it acts as a lubricant allowing the wood cells to slip past each other as the wood is bent.
 ( 021 ) 8-Jan-2015
I cook the assembly for about ten minutes, waiting for the steam to rise and the sound and smells to be just right. And then I press the waist into the form. I used to instrument this process with thermocouples and infrared thermometers (have I mentioned I'm a measurement nut), but I find the sights, sounds, smells, and feel are just as good.
 ( 022 ) 8-Jan-2015
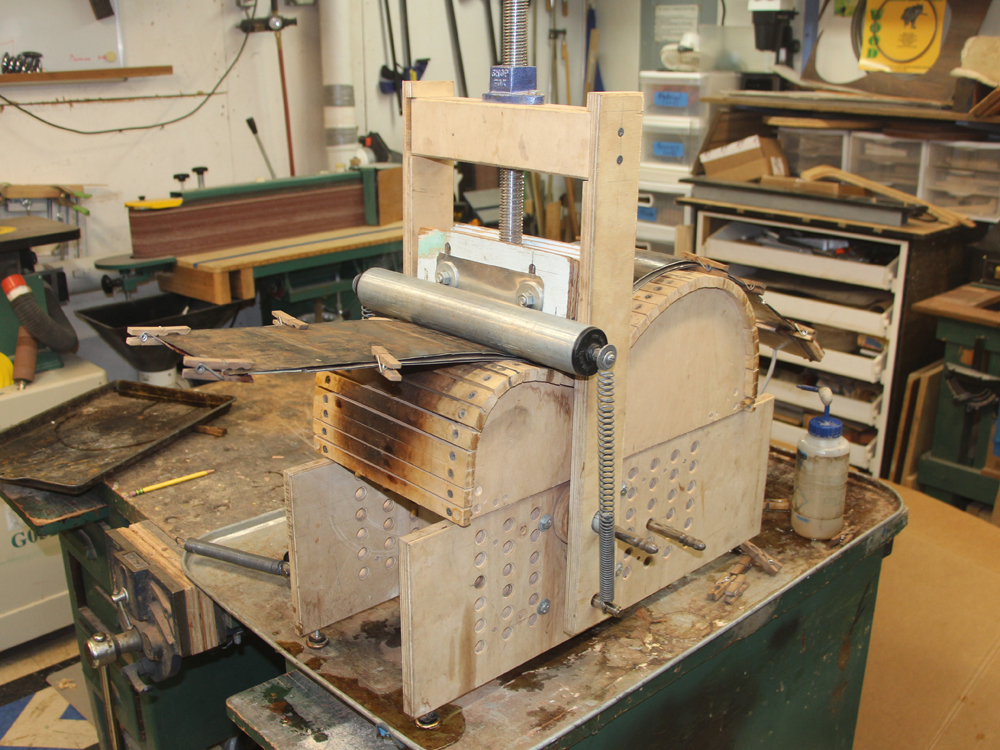
Next I attach the front roller.
 ( 023 ) 8-Jan-2015
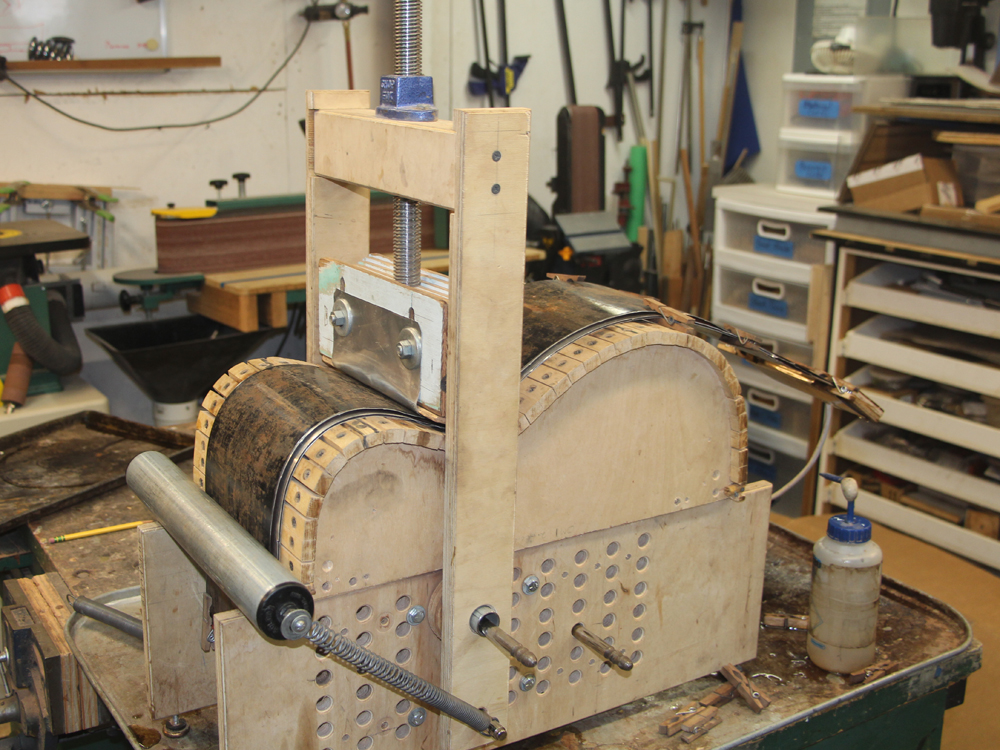
And rollover the upper bout.
 ( 024 ) 8-Jan-2015
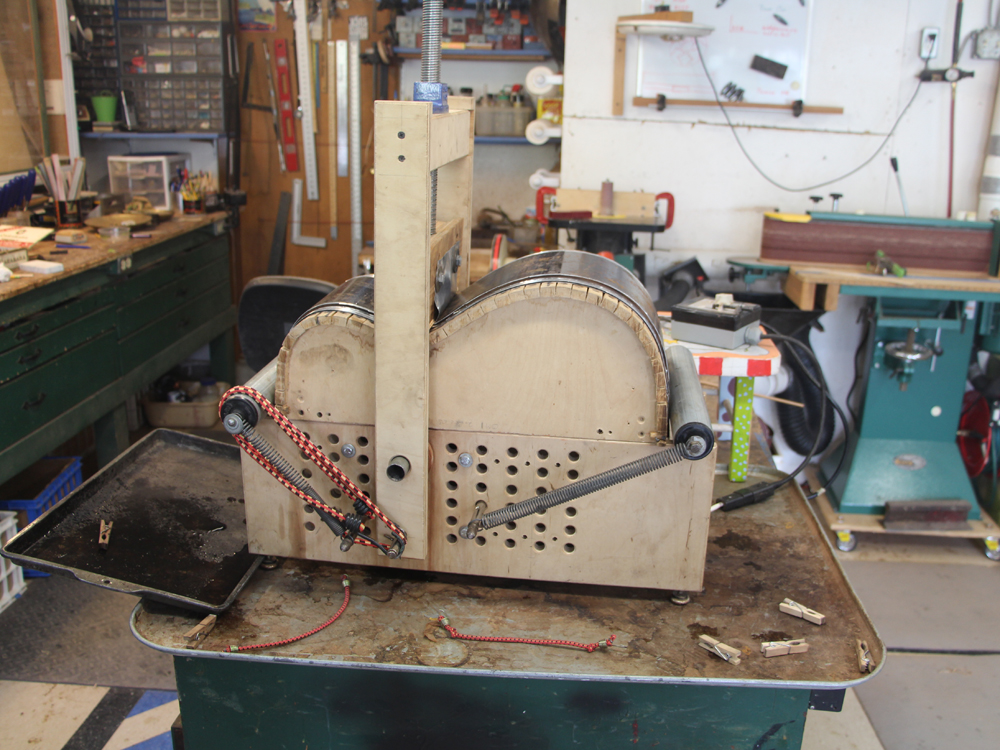
And then I attach the lower roller and rollover the lower bout.
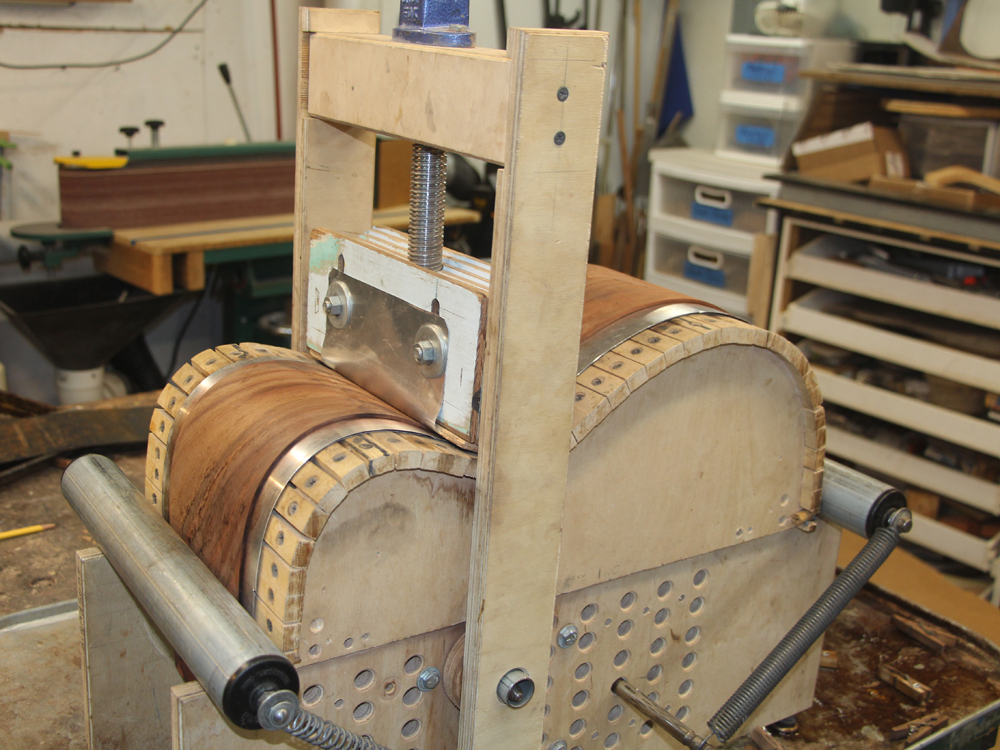 ( 025 ) 8-Jan-2015
After cooking for fifteen minutes I remove the top sheets and cook the side until it takes a set.
 ( 026 ) 8-Jan-2015
And in the end I get a funny shaped piece of wood.
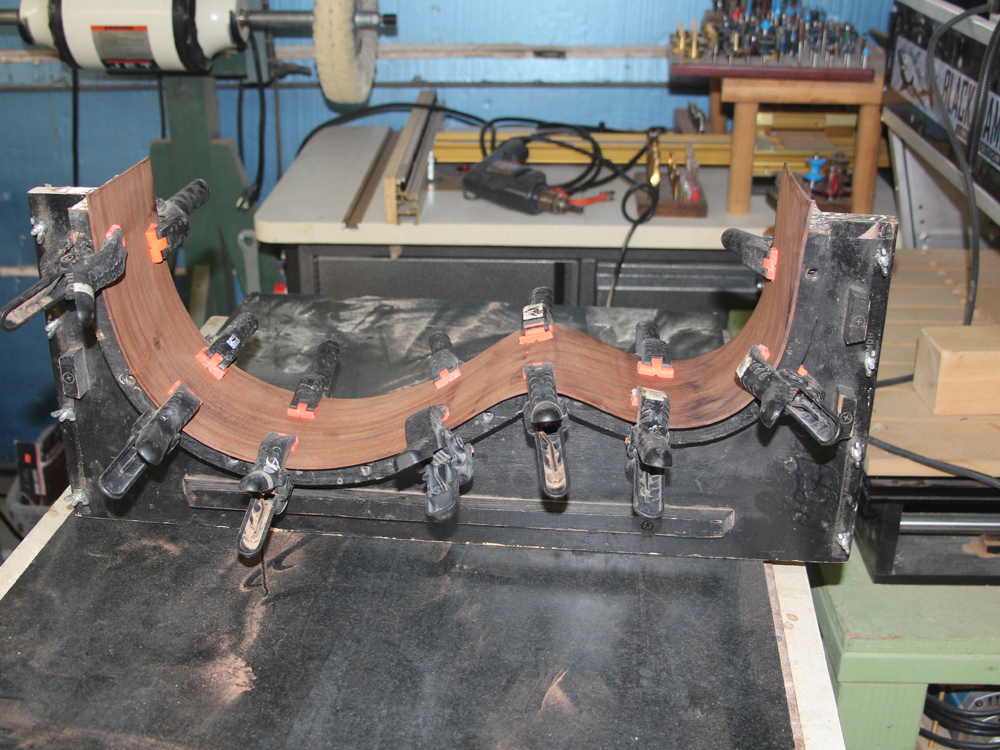 ( 027 ) 8-Jan-2015
To prevent spring back I put it in its side form for now.
 ( 028 ) 8-Jan-2015
The second side gets the same treatment as the first.
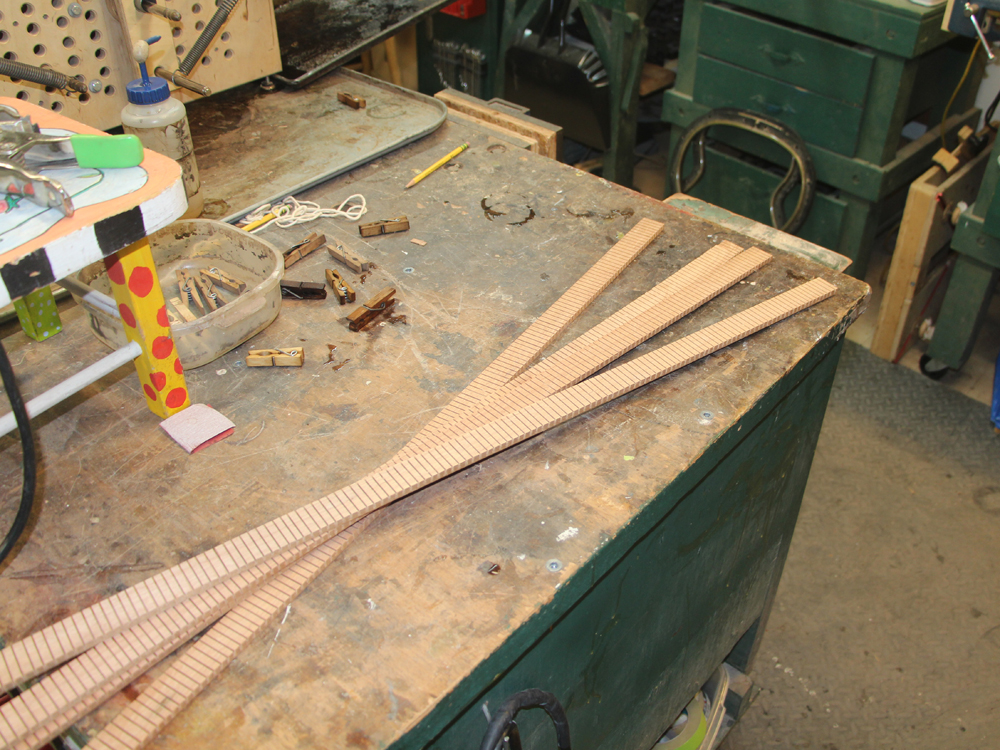 ( 029 ) 8-Jan-2015
I use a reversed kerfing in most of my guitars. Here I have some strips I fabricated previously.
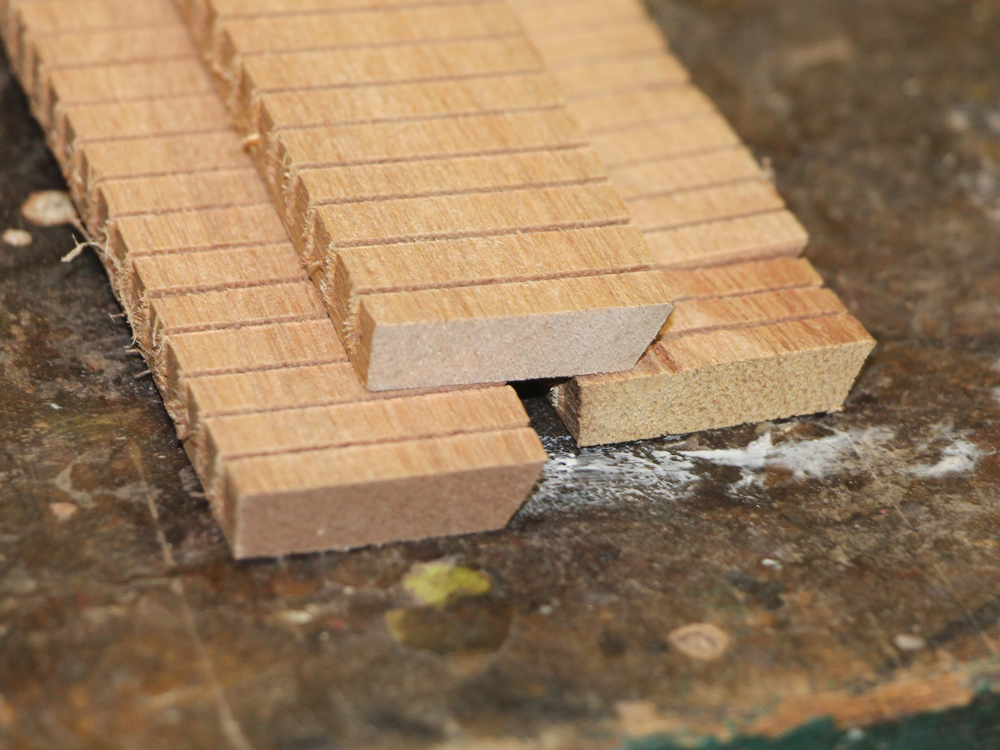 ( 030 ) 8-Jan-2015
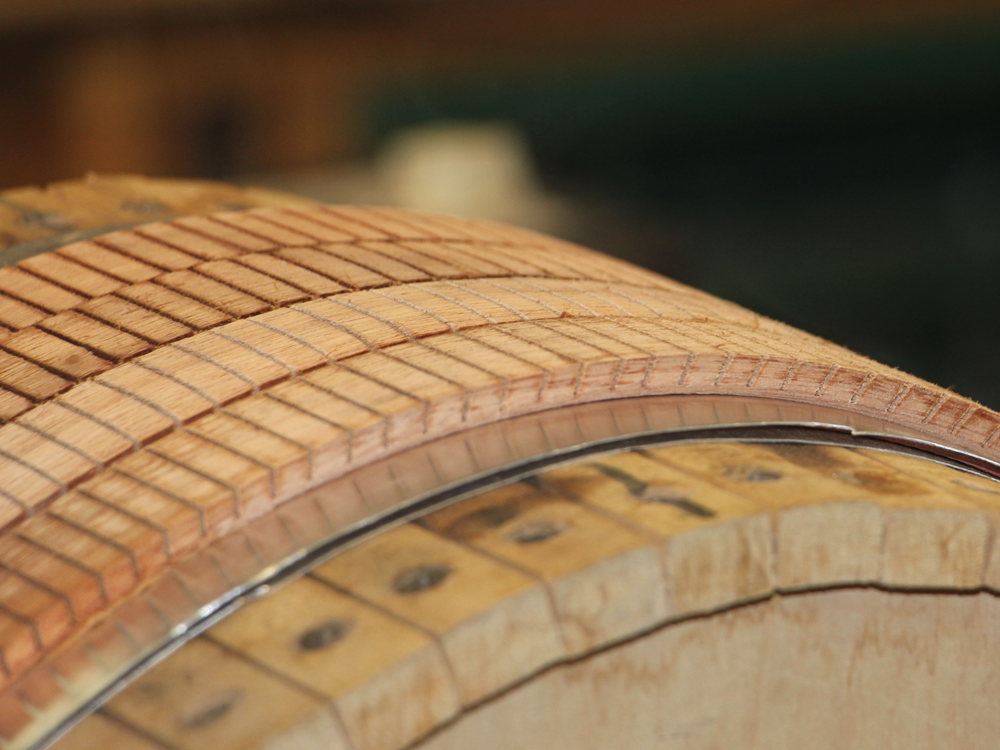
These are strips of mahogany with a set of kerfs sliced across the grain. I add a bevel for looks.
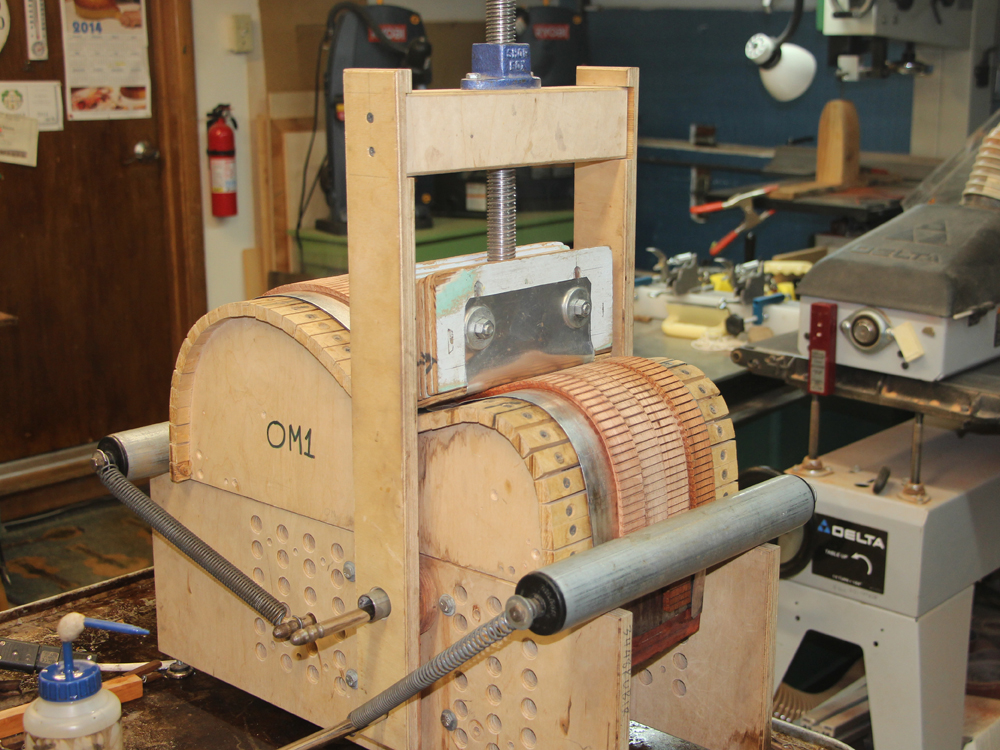 ( 031 ) 8-Jan-2015
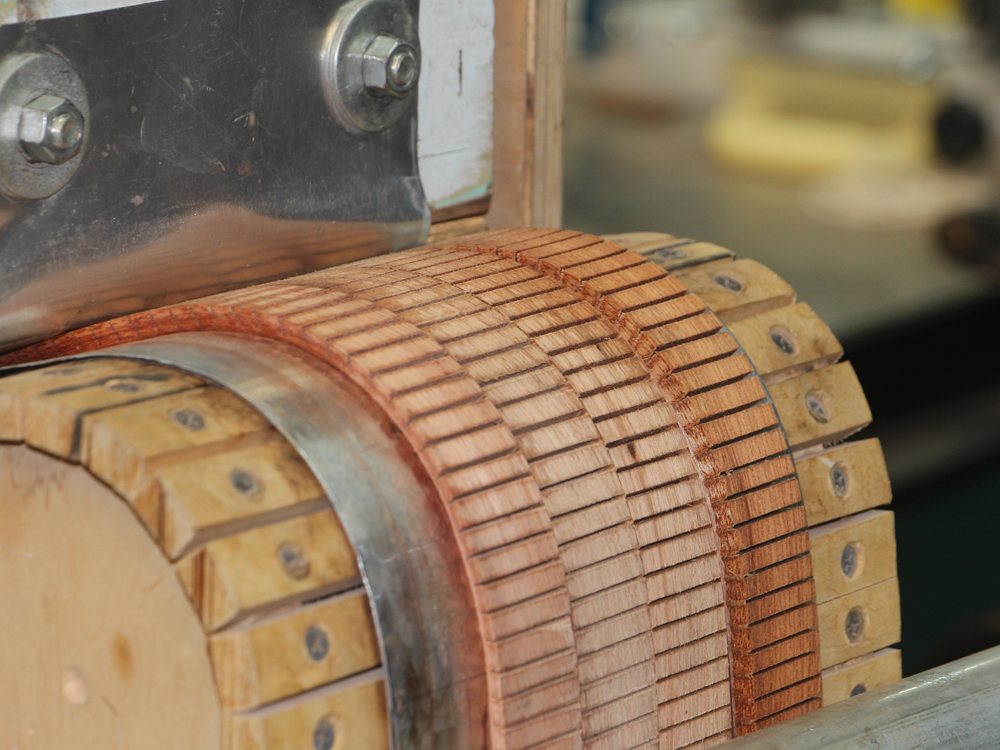
These kerfing strips get bent to shape in the bending machine.
 ( 032 ) 8-Jan-2015
 ( 033 ) 8-Jan-2015
 ( 034 ) 8-Jan-2015
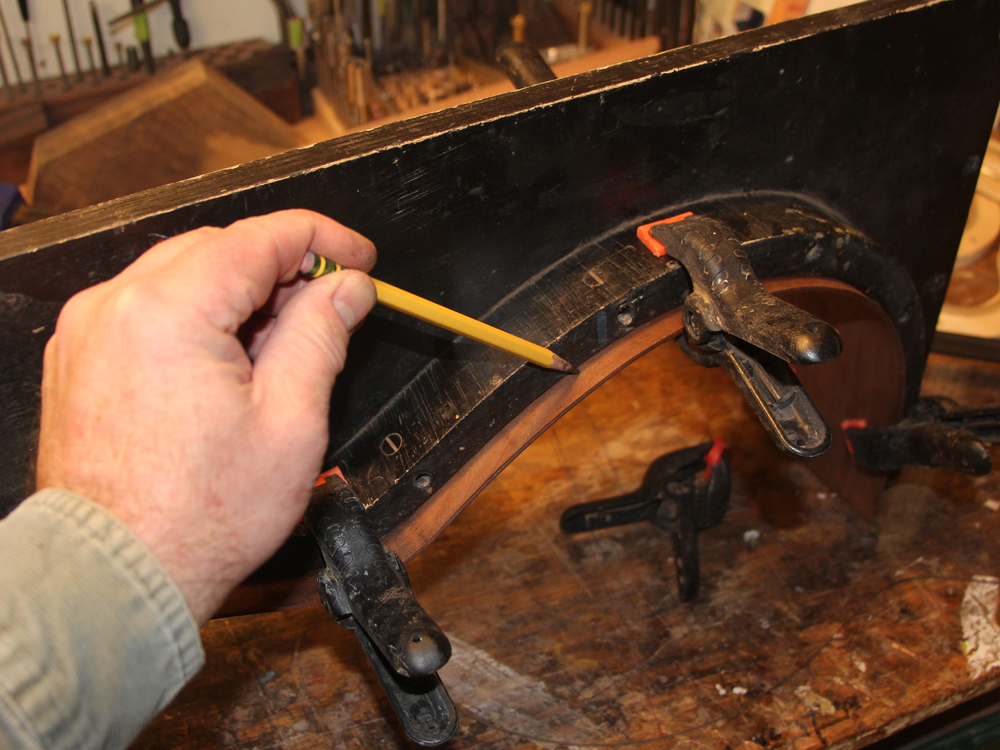
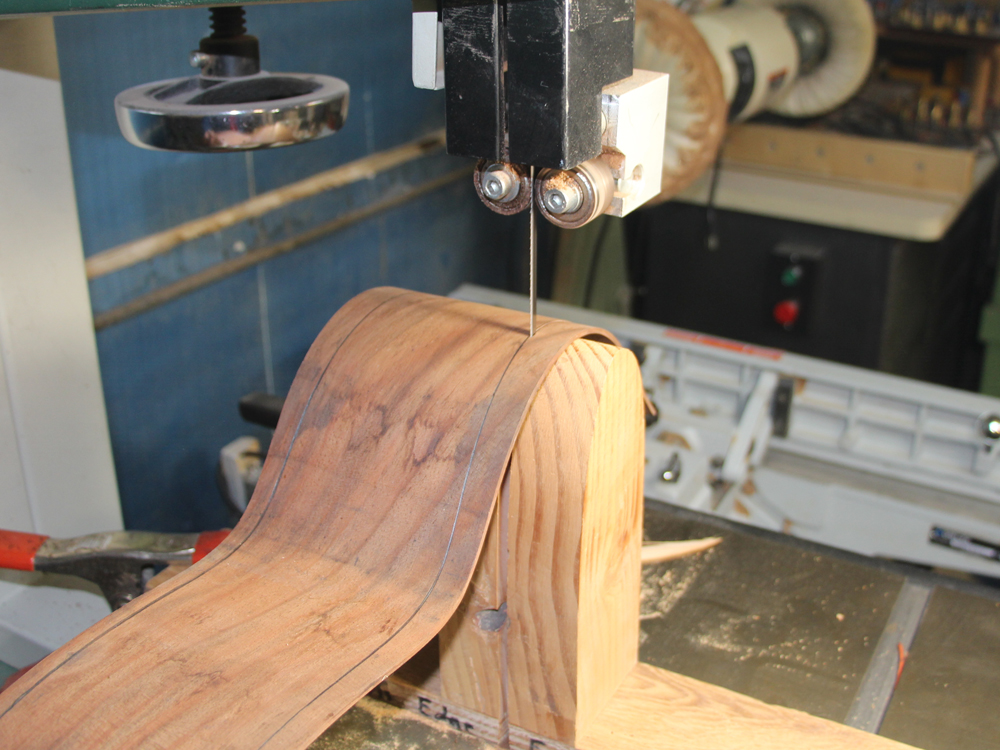
Now with the sides in their forms (which have the same shape as the finished guitar) I trace out the shape on the side pieces.
 ( 035 ) 8-Jan-2015
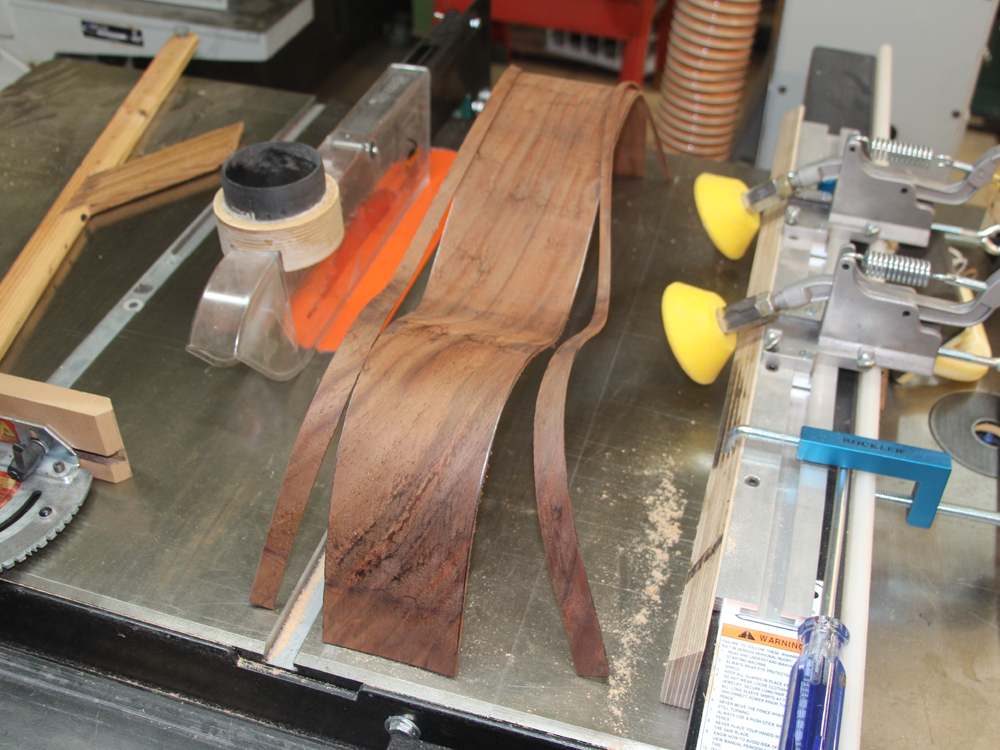
I then open up my band saw and use this raised contoured platen to carefully cut out the side piece.
 ( 036 ) 8-Jan-2015
 ( 037 ) 8-Jan-2015
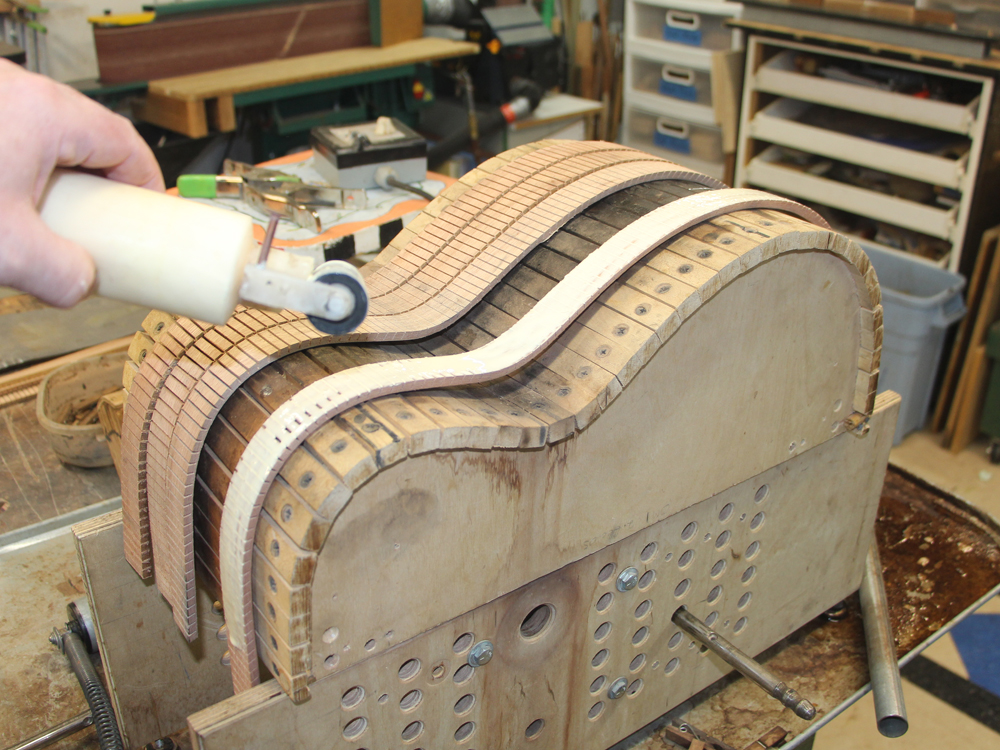
Next I put the side piece in its form and apply masking tape where the heel and tail block will tie the two halves together. The masking tape makes it easy to remove the kerfing from the sides in these areas.
 ( 038 ) 8-Jan-2015
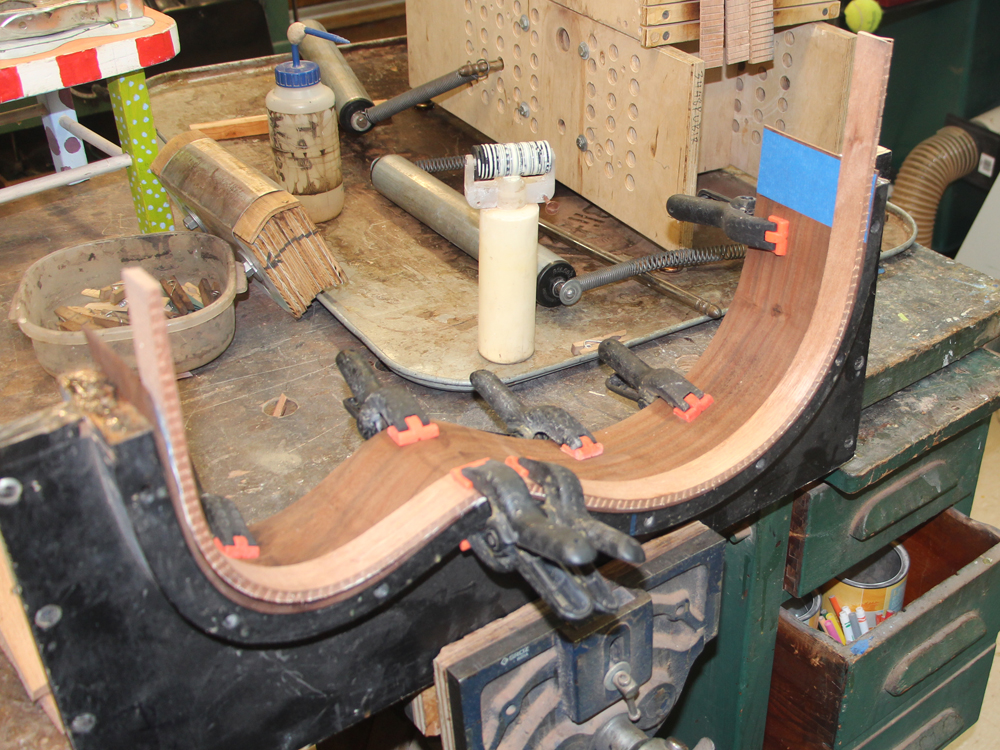
While the kerfing sits on the bending form I apply a liberal amount of glue to the inside surface.
 ( 039 ) 8-Jan-2015
And then I place the kerfing in the form. I then start apply some of my numerous clamps. If you noticed in picture 026, when the sides are initially bent they are a bit flexible. By using a reversed kerfing, which has a solid strip of wood held away from the side by the kerf blocks, we end up with something like a boat's gunwale that will make the sides very strong and stiff.
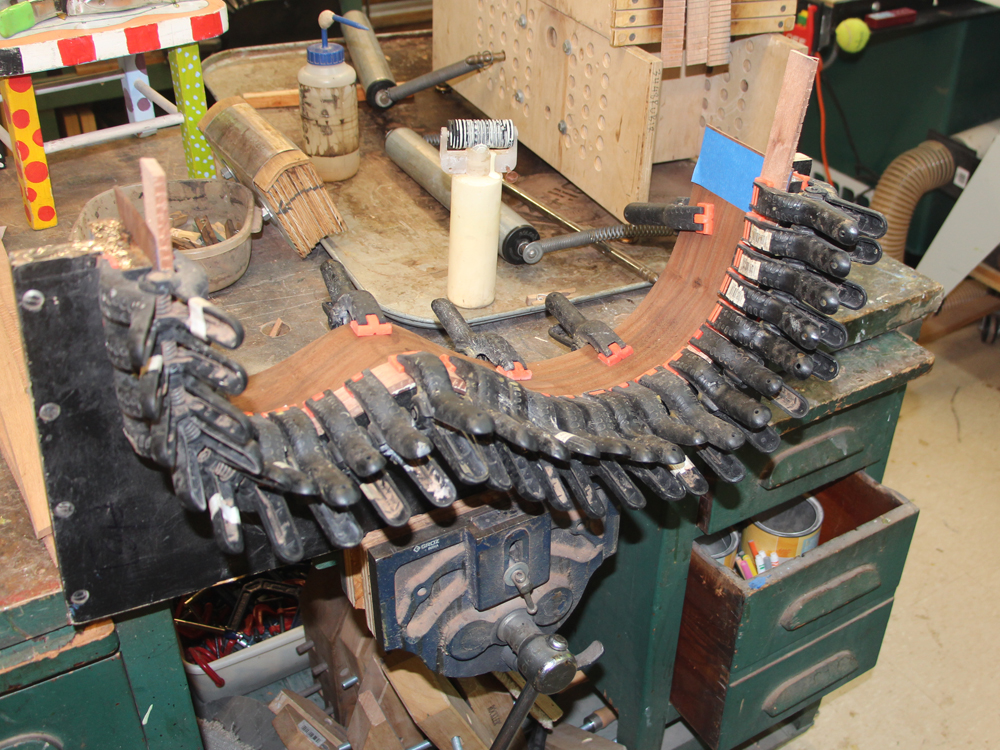 ( 040 ) 8-Jan-2015
I continue applying clamps until I have covered the full length of the sides. When the side is initially bent it has the approximate shape of the guitar, but not quite perfect. By pressing the kerfing into place while the side is in the form the considerable clamp pressure insures that the final shape of the sides will match the shape of the form, which does have the right shape, and the reverse kerfing locks everything into place.
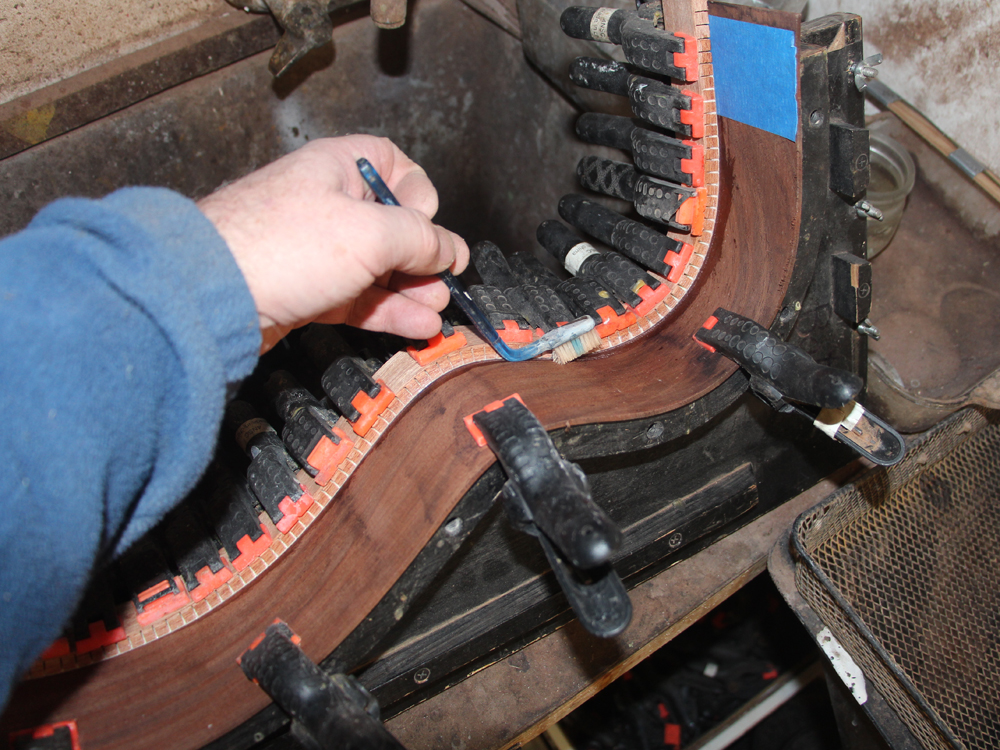 ( 041 ) 8-Jan-2015
I clean up the squeeze out...
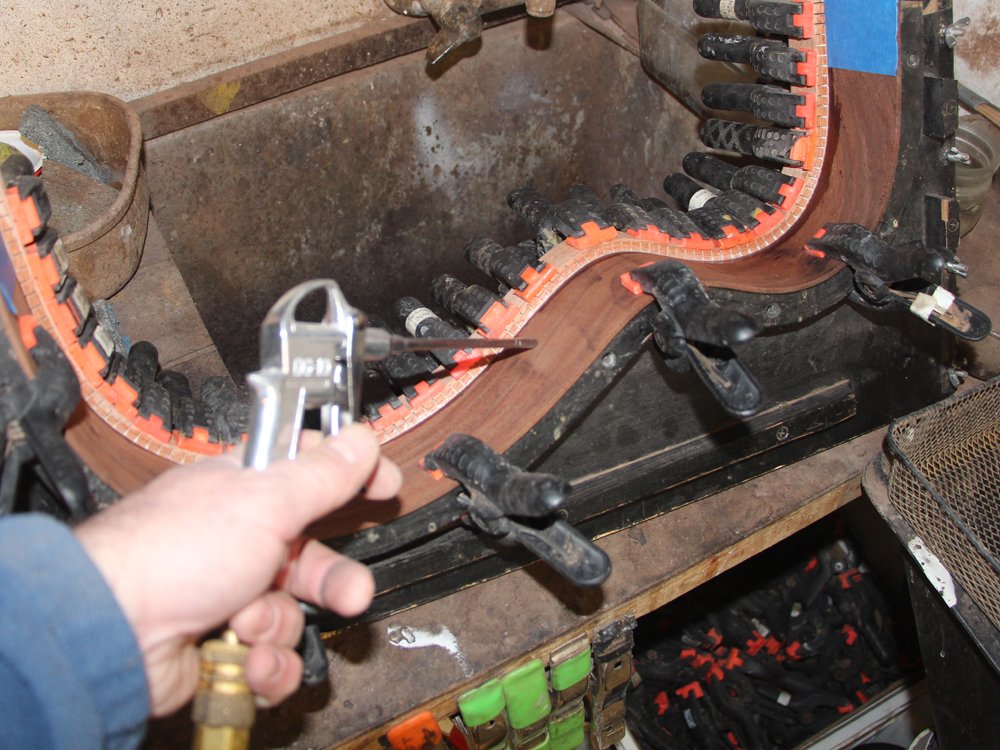 ( 042 ) 8-Jan-2015
and then blow out the glue from between the kerf slots.
 ( 043 ) 8-Jan-2015
I then repeat the process on the second edge.
 ( 044 ) 8-Jan-2015
Lots of clamps.
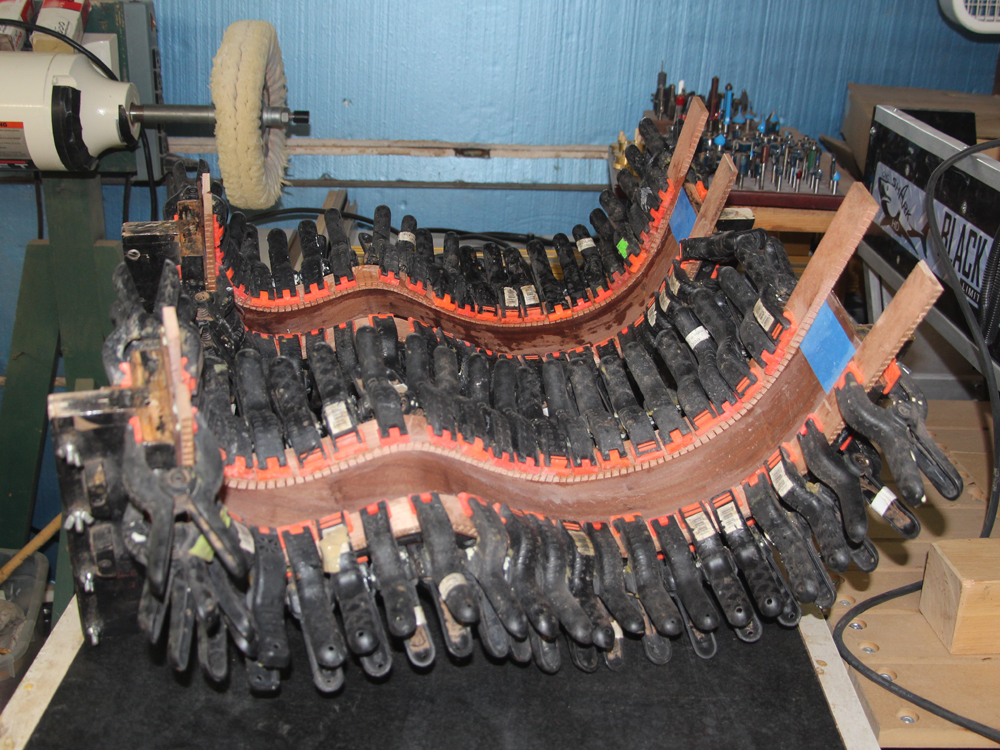 ( 045 ) 8-Jan-2015
The second side piece gets the same treatment as the first. Did I mention I have lots of clamps.
Next up I will be joining the two halves together.